Showing posts with label rolls. Show all posts

Tuesday, February 8, 2011

Pie Crust Cinnamon Roll


I love pie crust as evidenced here and here. I also love cinnamon rolls. So, naturally, I wanted to try and combine the two into a giant pie crust cinnamon roll. Flaky, buttery, cinnamon, brown sugar, raisins, no kneading, easy peasy. I love when experiments work out so well! You could cut this up and split it with a few lucky friends, or you could do what I did and tear off a piece, slowly unrolling it over a period of a few days and enjoy all that cinnamony buttery goodness yourself! I guess when it comes to pie crust cinnamon rolls I'm a bit stingy... sorry friends!

Pie Crust Cinnamon Roll
Inspired by this recipe
Ingredients
1 recipe your favorite pie crust (enough for a single crust, nine-inch pie)
Filling:
1/2 cup raisins
3/4 stick (6 tablespoons) butter
1/3 cup sugar
2 tablespoons cinnamon
Topping
1/3 cup brown sugar
1/3 cup butter, melted
More brown sugar for sprinkling (if desired)

Preheat oven to 350 degrees. In a pie pan, mix three tablespoons melted butter and four tablespoons brown sugar. Set aside.
Roll out pie crust. Spread with 3/4 cup butter, sprinkle on sugar, cinnamon, and raisins. Cut into even strips.
Now, take one strip and start rolling it up, set roll on the next strip, pinch dough together at seam, and keep rolling, continue with the other strips of dough until the roll gets too big to roll.
Transfer roll to pie pan, continue adding on strips of dough by rolling them around the already formed roll. Finally, you will have one big cinnamon roll.
Sprinkle with more brown sugar (optional, depends how sugary you want it!) Bake at 400 degrees for 10-12 minutes or until light brown (very light brown).
Remove from oven, let sit for about five minutes.
Flip over onto a plate or serving tray. Yum.
Afreakingmazing

I will be linking up at these parties.. Tasty Tuesdays, Rook #17, Trendy Treehouse and Sugar and Dots, this week, check them out!

Wednesday, February 2, 2011

Butterflake Rolls

Today I am sharing one of my absolute favorite recipes. Butterflake Rolls. I first made these for Christmas dinner this year, and although a bit labor intensive, they are some of the best rolls I have ever had, heck they are one of the best foods I have ever had. Flaky, yeasty bread, layers of butter and a melt in your mouth texture. This recipe makes a large batch but they are easy to freeze and defrost later. The amount of flour that goes into these will really depend on the climate you're in. If it is a humid day you will need to add more, if it is a dry day, less. The trick is to add enough so that the dough doesn't stick to everything. I do it little by little and when I can poke the dough and it doesn't stick to my fingers, I figure that it's enough (a little trick my older sis taught me). I also vary the number of layers depending on how buttery I want them, so feel free to play around with the recipe and find what works for you. That's part of the fun of cooking, right? Taking a recipe and making it your own. I hope you all love these as much as me and my family do, and have a beautiful day!
Butterflake Rolls
From Jean Groberg, the Family Cookbook Project
Ingredients:
3 tablespoons instant/fast acting yeast
3/4 cup lukewarm water
3 eggs
3/4 cup sugar
2 1/2 tsp. salt
1 1/2 cups hot water (NOT boiling)
6 to 8 cups flour
1 can evaporated milk (1 1/2 cups)
1 stick soft butter (more or less depending on how much butter you like)
Dissolve yeast in lukewarm water, set aside.
Beat eggs with a mixer until fluffy, add sugar, salt, milk and hot water.
Add yeast mixture. Slowly add up to 5 cups of the flour (if it is too goopy to form a dough, add more flour until it is wet, but workable).
Turn out on floured board (or oiled counter top) and knead in the remaining flour (be sure to flour your hands first!). Knead gently, keeping dough light, add more flour as needed to create a wet but not sticky dough.
Using a floured rolling pin, roll out to about 1/2 inch thickness. Using your hands, spread dough with soft butter (like I said, however much you would like, for me more butter is always better so I use about two tablespoons). Cut dough in half and stack together. Roll again, adding more soft butter as needed on each layer.
Do this several times (I do this four times, cause I like butter).
On final time roll out until 3/4 inch thick.
Cut in circles, using a small glass about 2 inches across. The dough should be quite light.
Place each circle of cut layered dough on its side in a muffin tin cup. Cover dough with a damp towel and set aside to rise for two or three hours, until nicely puffed up. When ready to bake, brush tops of rolls with more butter, a pastry brush works well here. Bake at 375ยบ for 8 to 10 minutes.
Makes about 4 dozen rolls.
I would love to know some of your favorite recipes! If you have a link to one of em feel free to leave it in the comment section and I will check it out.

The Trendy Treehouse
Miz Helen’s Country Cottage

Thursday, June 24, 2010

Amazing Yogurt Rolly Buns


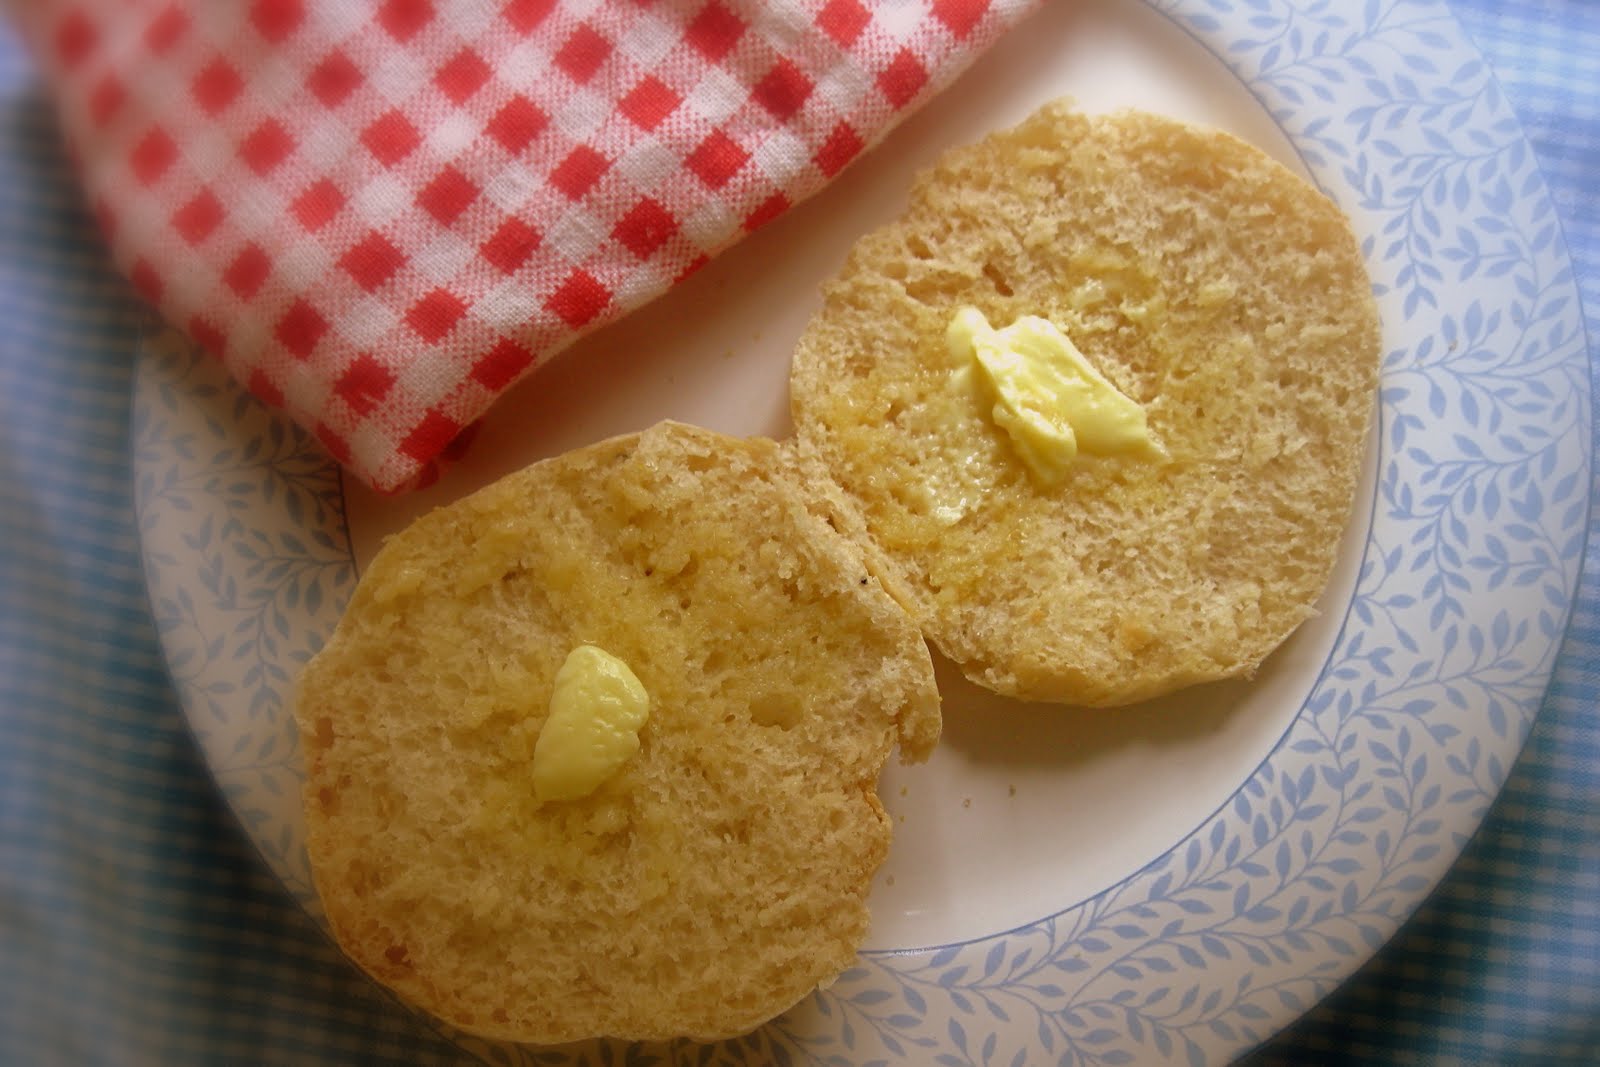
Why is it that whenever I go to the grocery store to pick up one thing I always end up leaving with a bunch of other stuff I didn't even plan on buying? I guess it is due in large part to my inability to pass up a good deal. If it's on special, chances are I will buy it. This is how I ended up with a BUNCH of those little 100 calorie Yoplait Lights. They were on sale for something like ten for two dollars, so of course, I bought about 20! I have been trying to eat one a day but still have at least ten left. I was browsing the Baking Bites website and did a search for recipes using yogurt. One of the recipes I found was for Yogurt Dinner Rolls. The recipe calls for plain yogurt and of course, all I have are fruit flavors and vanilla, but I thought hey, why not try it out with flavored yogurt and see what happens! I have to say, it turned out fabulously! I wasn't sure, as the original recipe is for a more savory roll, and I also wasn't sure how the yoplait fruit yogurts would work since they are fat free. But the rolls turned out beautifully! Soft and moist with a sweet, light blueberry flavor. Topped with a bit of butter and my mom's homemade apricot jam, these are DIVINE. They are best when eaten warm out of the oven, but they also keep well, and toasted are a superb breakfast roll. This is now my favorite roll recipe and I am beyond excited to try out other yogurt flavor combinations, maybe peach with whole wheat flour? I may be returning to the store to buy MORE yogurt now... they are seriously that good! The recipe is healthy as well, because the only sweeteners used are the yogurt and a bit of honey. I sprinkled them with a touch of cornmeal and raw sugar before baking which gave them a satisfyingly sweet crunch. I increased the kneading time and the rising time quite a bit for my version of the recipe. Mine took a lot longer to rise than the guidelines in the original recipe. But believe me, the extra work is definitely worth it in the end! Unfortunately I didn't take as many pictures of the process of making these tasty little buns as I normally do when I cook. The reason for this is that I didn't actually think they would turn out very well. I made up for it though by taking TONS of pictures once I realized how delectable they are! Seriously, my new favorite thing, yum! Well, hope you enjoy these healthy little treats as much as I did! Happy Baking!


Yogurt Rolly Buns

Recipe adapted from bakingbites.com


Ingredients


4-5 cups all purpose flour

1 tbsp active dry yeast

3 tbsp honey

1 cup water, warm (100-110F)

1 cup light yogurt (pick your favorite flavor combo)

*The Yoplait ones are 1/2 cup each little container

1 tbsp vegetable oil

1 1/2 tsp salt


Crunch Topping

3 tblsp cornmeal

2 tbslp raw sugar

1 tbsp melted butter


In a large bowl, combine 1/2 cup flour, yeast, honey, and warm water. Stir well and let sit for about 15 minutes, until foamy.

Stir in yogurt, vegetable oil, salt, and 2 cups of the remaining flour. Gradually stir in more flour until you have a soft dough that stick together and pulls away from the sides of the bowl (this took me a while as the yogurt I used is pretty runny so I needed a lot of flour to get it to stop sticking.) Don't worry about over mixing the dough, it will turn out fine :)


Turn out dough onto a lightly floured surface and knead, adding additional flour if needed to prevent sticking (again, I had to add quite a bit to get it to not stick.)

Continue kneading until dough is smooth and elastic, mine took about ten minutes.


Place dough in a lightly greased bowl, cover bowl with a wet dishtowel and place in a warm dry place. I put the oven on warm for two minutes, turned it off, waited a minute and set the bowl in there. Let rise until doubled in size, about 2 hours.

Preheat oven to 375. Line two baking sheets with parchment paper.


Turn risen dough out of bowl and onto a lightly floured surface. Gently deflate, pressing into a rectangle. Divide dough into ten even pieces with a knife or pizza cutter.
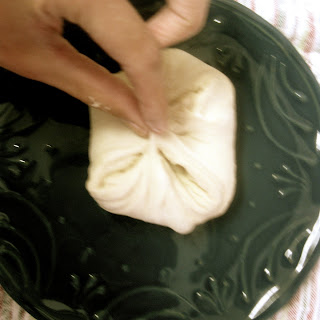

Shape each piece into a round roll. To do this, take all the corners of one of the squarish pieces and pull them together, pinching them to create a seal. This will pull the rest of the dough tight across the top of your roll, giving it a smooth top. Place on prepared baking sheet.


Repeat with remaining dough.

Once all the rolls have been formed press down firmly on each to flatten. Cover with a clean moist (not wet) dish towel and let rise in a warm place for about 40 minutes.

Using a pastry brush (or your fingers) brush tops of rolls with melted butter and sprinkle with sugar and cornmeal.

Bake for 15 - 20 minutes, until rolls are golden on the top and the bottom.

Cool on a wire rack. Store in an airtight container.

Makes 10 large rolls.


Happy Baking!